Integrating Swagger into JAX-RS with Java EE 6 specification
Introduction
Swagger is an awesome framework we often used to describe, consume and visualize our RESTful web services. Typically, we use Tomcat with Jersey as a servlet, then specify the Swagger package and Swagger Configuration class into web.xml, finally annotate the resources, methods and models to complete the configurations. Our team recently built a Java EE 7 application for a RESTful web service. The goal of this article is to share our experiences of configuring Swagger in Glassfish 4 without a web.xml.
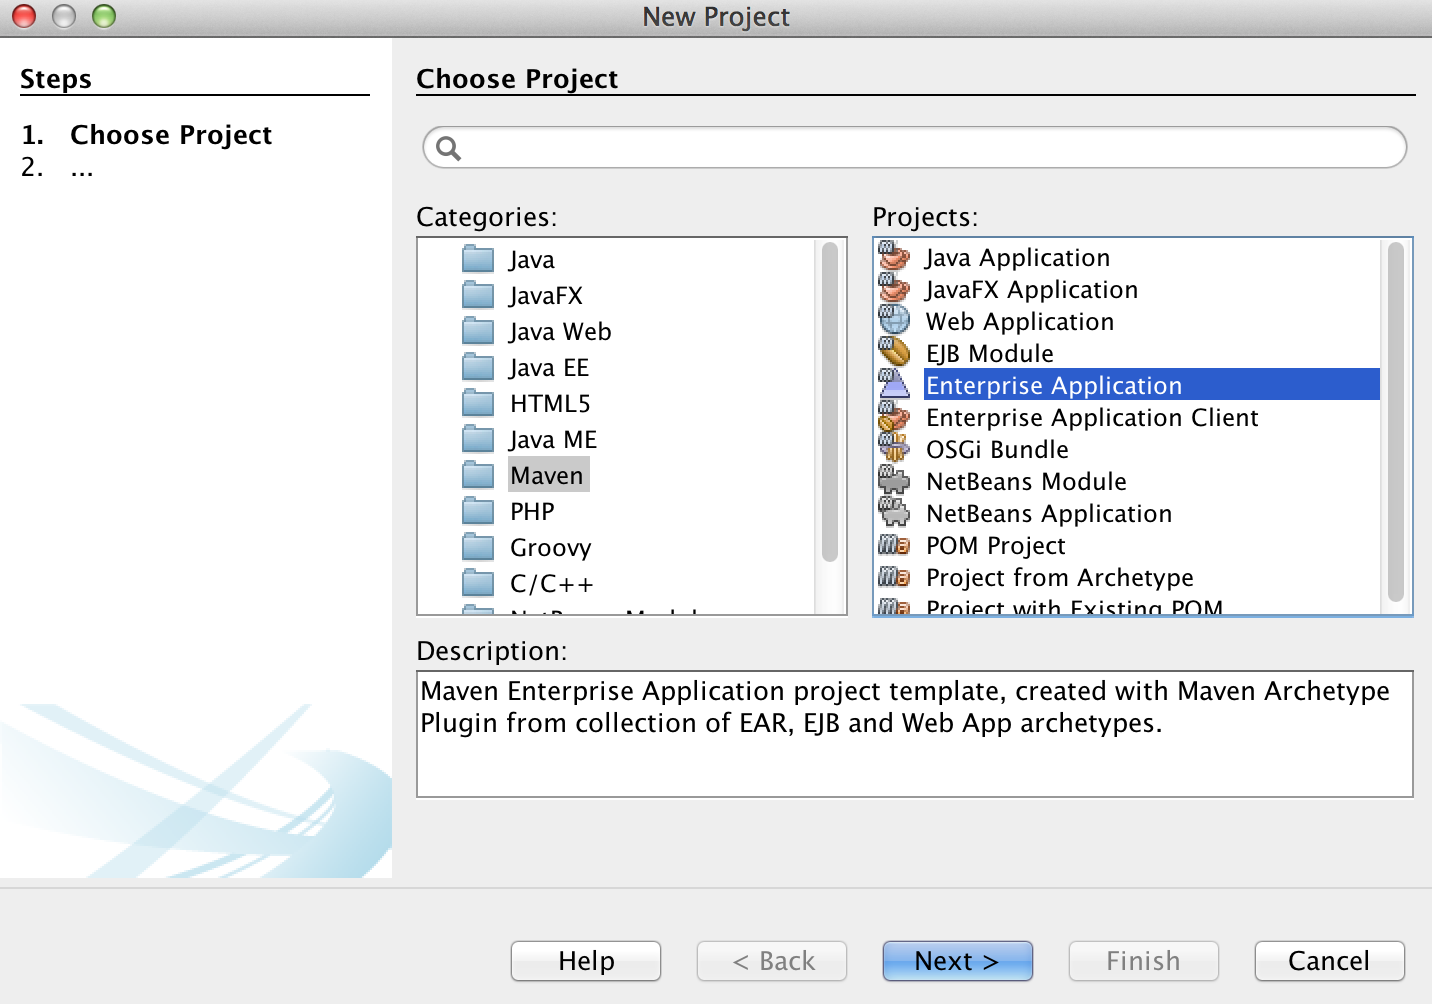
Create Maven Enterprise Application
First of all, we create a new project through Maven Enterprise Application project template contains EAR, EJB and Web App archetypes call swagger4javaee.
Add Swagger-JAXRS Dependency
Adds a jaxrs-dependent swagger module for JAX-RS in swagger4javaee-web/pom.xml.
<dependency>
<groupId>com.wordnik</groupId>
<artifactId>swagger-jaxrs_2.10</artifactId>
<version>1.3.1</version>
<scope>compile</scope>
</dependency>
Specify a Swagger Configuration Class
We created a Java class called SwaggerJaxrsConfig in the com.example.rest.service package mainly refer to the lucasweble’s post on stackoverflow. Then we can configure the ApiVersion and BasePath for Swagger.
swagger4javaee-web/src/main/java/com/example/rest/service/SwaggerJaxrsConfig.java
package com.example.rest.service;
import com.wordnik.swagger.config.ConfigFactory;
import com.wordnik.swagger.config.ScannerFactory;
import com.wordnik.swagger.config.SwaggerConfig;
import com.wordnik.swagger.jaxrs.config.DefaultJaxrsScanner;
import com.wordnik.swagger.jaxrs.reader.DefaultJaxrsApiReader;
import com.wordnik.swagger.reader.ClassReaders;
import javax.servlet.ServletConfig;
import javax.servlet.ServletException;
import javax.servlet.annotation.WebServlet;
import javax.servlet.http.HttpServlet;
@WebServlet(name = "SwaggerJaxrsConfig", loadOnStartup = 1)
public class SwaggerJaxrsConfig extends HttpServlet {
@Override
public void init(ServletConfig servletConfig) {
try {
super.init(servletConfig);
SwaggerConfig swaggerConfig = new SwaggerConfig();
ConfigFactory.setConfig(swaggerConfig);
swaggerConfig.setBasePath("http://localhost:8080/swagger4javaee-web/rest");
swaggerConfig.setApiVersion("1.0.0");
ScannerFactory.setScanner(new DefaultJaxrsScanner());
ClassReaders.setReader(new DefaultJaxrsApiReader());
} catch (ServletException e) {
System.out.println(e.getMessage());
}
}
}
Annotate REST resources
In the following example, a class named HelloResource is defined by producing JSON outputs by HTTP GET method. Moreover, we add stateless session beans functionalities by additional @Stateless annotation to leverage some advantages such as Injection.
swagger4javaee-web/src/main/java/com/example/rest/hello/HelloResource.java
package com.example.rest;
import com.wordnik.swagger.annotations.Api;
import com.wordnik.swagger.annotations.ApiOperation;
import com.wordnik.swagger.annotations.ApiResponse;
import com.wordnik.swagger.annotations.ApiResponses;
import javax.ejb.Stateless;
import javax.json.Json;
import javax.json.JsonObject;
import javax.persistence.criteria.Order;
import javax.ws.rs.GET;
import javax.ws.rs.Path;
import javax.ws.rs.Produces;
import javax.ws.rs.core.MediaType;
import javax.ws.rs.core.Response;
@Stateless
@Path("/hello")
@Api(value = "/hello", description = "Say Hello!")
public class HelloResource {
@GET
@Produces(MediaType.APPLICATION_JSON)
@ApiOperation(value = "Say Hello World",
notes = "Anything Else?")
@ApiResponses(value = {
@ApiResponse(code = 200, message = "OK"),
@ApiResponse(code = 500, message = "Something wrong in Server")})
public Response sayHello() {
JsonObject value = Json.createObjectBuilder()
.add("firstName", "Jeremy")
.add("lastName", "Chung")
.add("message", "Hello World!")
.build();
return Response.status(200).entity(value).build();
}
}
Specify the swagger package
Add the following class in ApplicationConfig let JAX-RS can respond to requests for the Resource Listing and Api Declaration.
swagger4javaee-web/src/main/java/org/netbeans/rest/application/config/ApplicationConfig.java
package org.netbeans.rest.application.config;
import java.util.Set;
import javax.ws.rs.core.Application;
@javax.ws.rs.ApplicationPath("rest")
public class ApplicationConfig extends Application {
@Override
public Set<Class<?>> getClasses() {
Set<Class<?>> resources = new java.util.HashSet<>();
resources.add(com.wordnik.swagger.jaxrs.listing.ApiListingResource.class);
resources.add(com.wordnik.swagger.jaxrs.listing.ApiDeclarationProvider.class);
resources.add(com.wordnik.swagger.jaxrs.listing.ApiListingResourceJSON.class);
resources.add(com.wordnik.swagger.jaxrs.listing.ResourceListingProvider.class);
addRestResourceClasses(resources);
return resources;
}
/**
* Do not modify addRestResourceClasses() method.
* It is automatically populated with
* all resources defined in the project.
* If required, comment out calling this method in getClasses().
*/
private void addRestResourceClasses(Set<Class<?>> resources) {
resources.add(com.example.rest.hello.HelloResource.class);
}
}
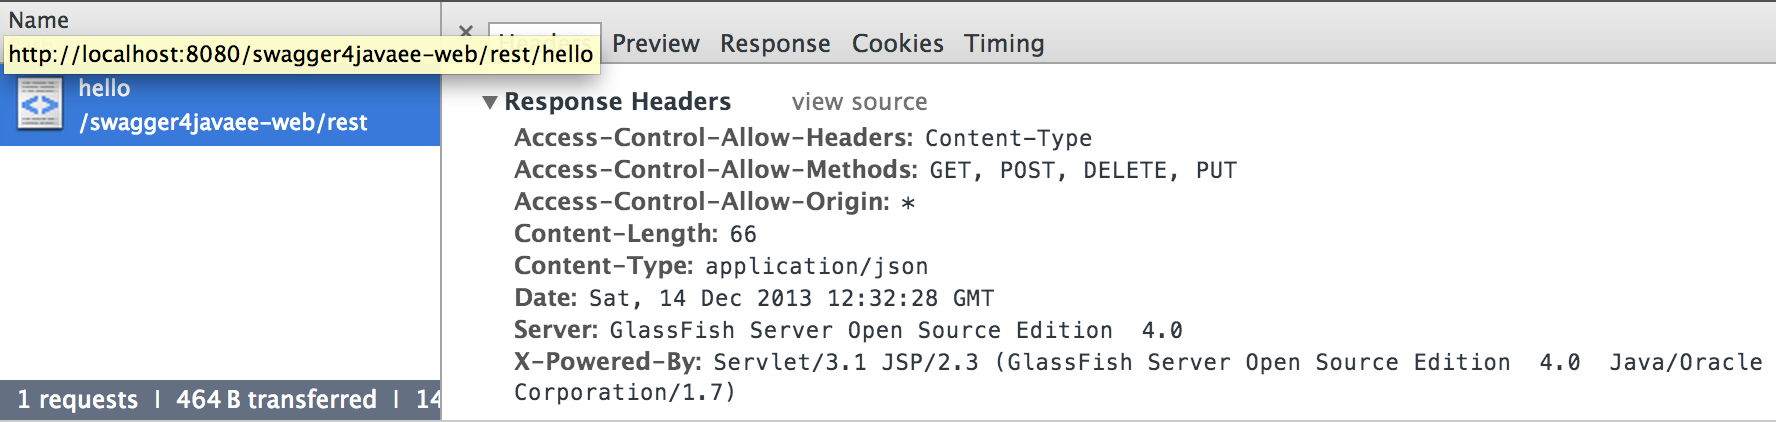
Test our configuration
After Clean and Build our project, deploying the EAR to the Glassfish 4.0, we can view our resource listing here, http://localhost:8080/swagger4javaee-web/rest/api-docs:
{
"apiVersion": "1.0.0",
"swaggerVersion": "1.2",
"apis": [
{
"path": "\/hello",
"description": "Say Hello!"
}
]
}
and any subsequent api declarations such as /hello and the JSON description for the corresponding url http://localhost:8080/swagger4javaee-web/rest/api-docs/hello:
{
"apiVersion": "1.0.0",
"swaggerVersion": "1.2",
"basePath": "http:\/\/localhost:8080\/swagger4javaee-web\/rest",
"resourcePath": "\/hello",
"apis": [
{
"path": "\/hello",
"operations": [
{
"method": "GET",
"summary": "Say Hello World",
"notes": "Anything Else?",
"type": "void",
"nickname": "sayHello",
"produces": [
"application\/json"
],
"parameters": [
],
"responseMessages": [
{
"code": 200,
"message": "OK"
},
{
"code": 500,
"message": "Something wrong in Server"
}
]
}
]
}
]
}
Supports Cross-Domain Request
In order to support the cross-domain request (e.g., jQuery) for our REST web services, we can easily achieve it by utilising Filter to set access control on ServletResponse Header.
swagger4javaee-web/src/main/java/com/example/rest/service/HTML5CorsFilter.java
import java.io.IOException;
import javax.servlet.FilterChain;
import javax.servlet.FilterConfig;
import javax.servlet.ServletException;
import javax.servlet.ServletRequest;
import javax.servlet.ServletResponse;
import javax.servlet.annotation.WebFilter;
import javax.servlet.http.HttpServletResponse;
@WebFilter(filterName = "HTML5CorsFilter", urlPatterns = {"/rest/*"})
public class HTML5CorsFilter implements javax.servlet.Filter {
@Override
public void doFilter(ServletRequest request, ServletResponse response, FilterChain chain) throws IOException, ServletException {
HttpServletResponse res = (HttpServletResponse) response;
res.addHeader("Access-Control-Allow-Origin", "*");
res.addHeader("Access-Control-Allow-Methods", "GET, POST, DELETE, PUT");
res.addHeader("Access-Control-Allow-Headers", "Content-Type");
chain.doFilter(request, response);
}
@Override
public void init(FilterConfig filterConfig) throws ServletException {
}
@Override
public void destroy() {
}
}
Integrate with Swagger UI
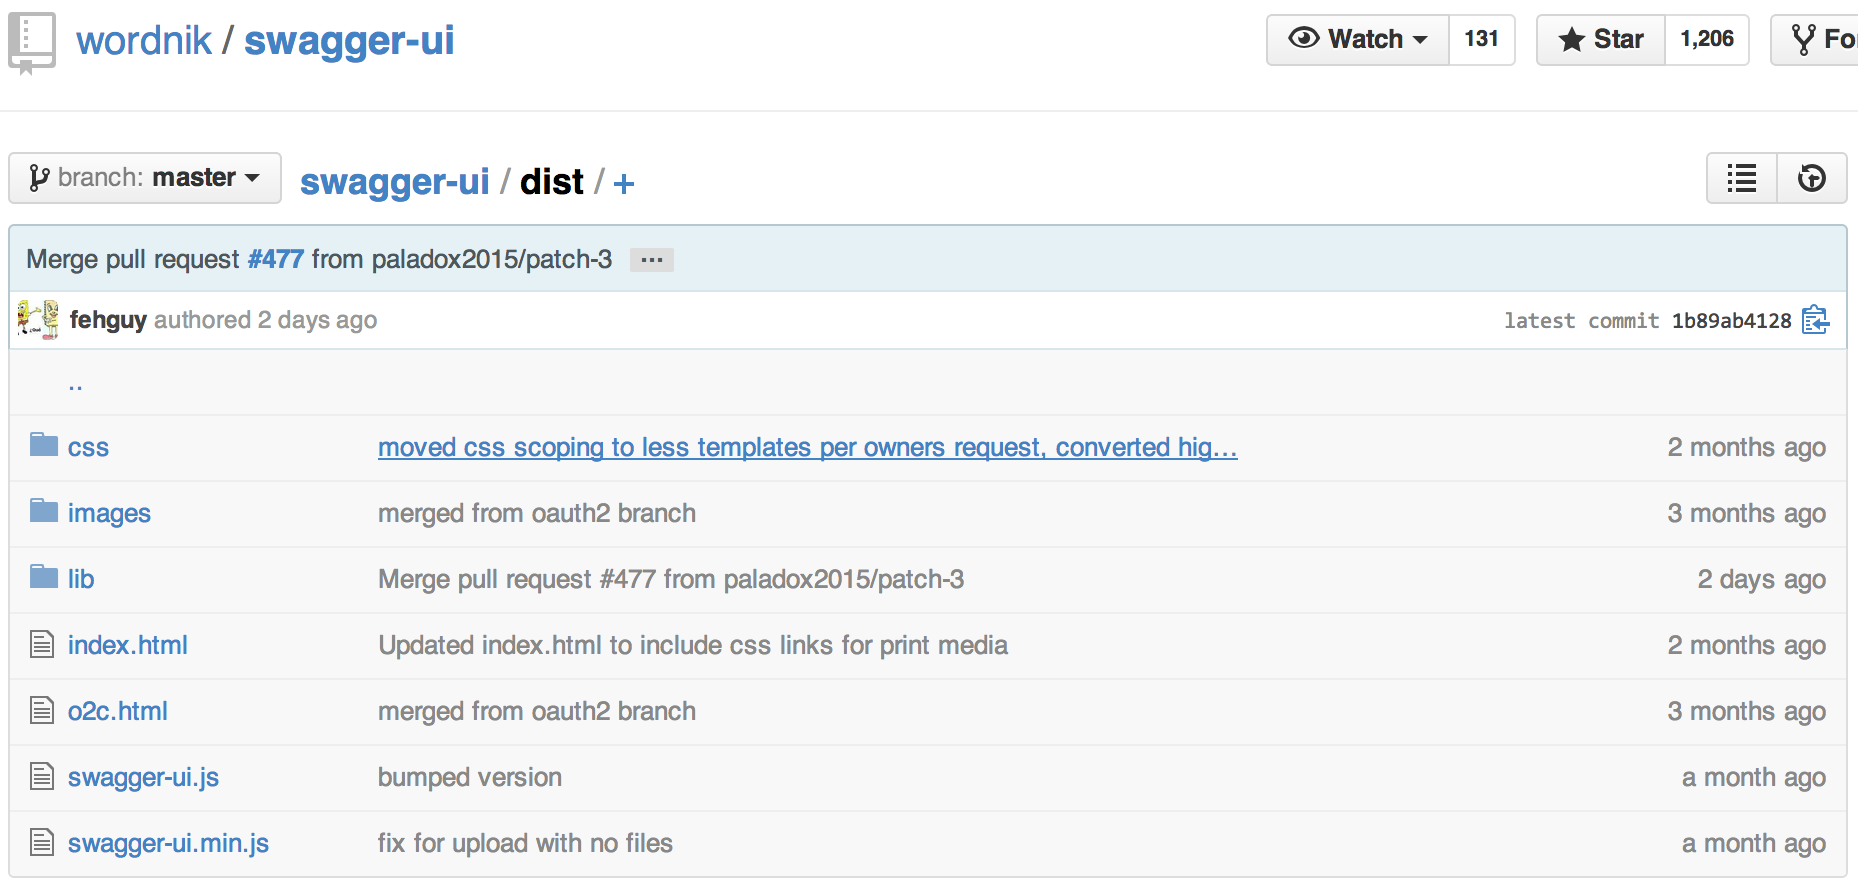
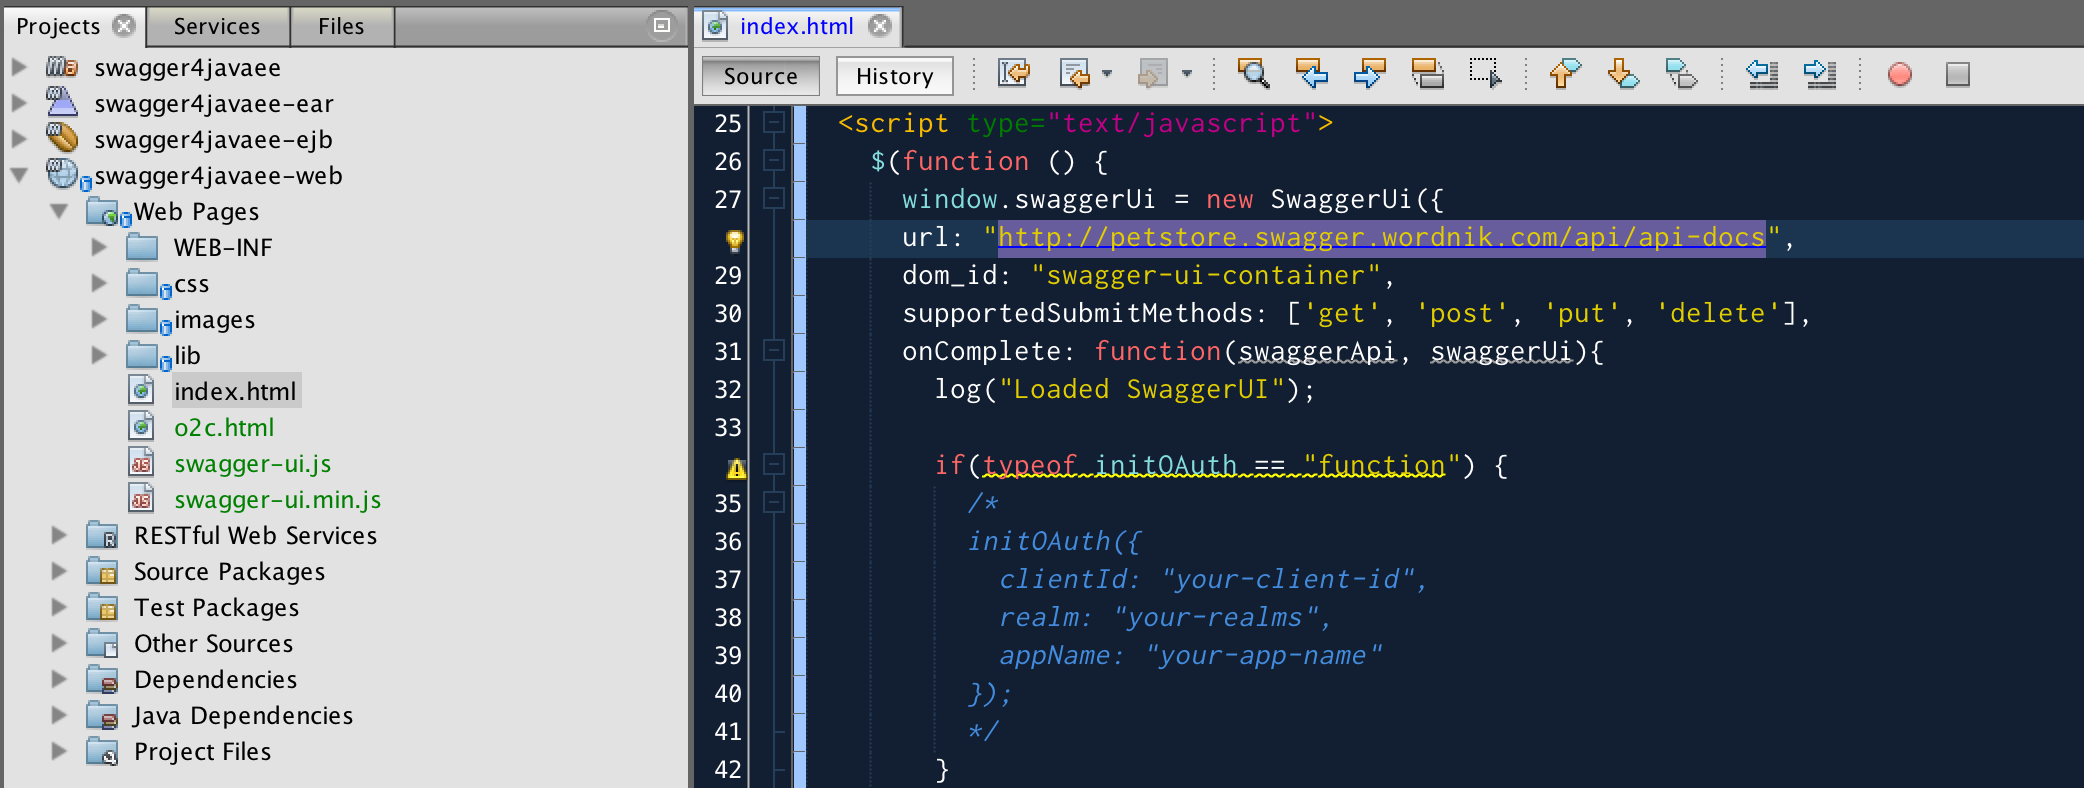
Here we leverage the Swagger UI to produce, visualize and consume our RESTful services. First, we clone the project via git clone https://github.com/wordnik/swagger-ui.git. As shown below, we can found a dist folder which contains the pre-built files.
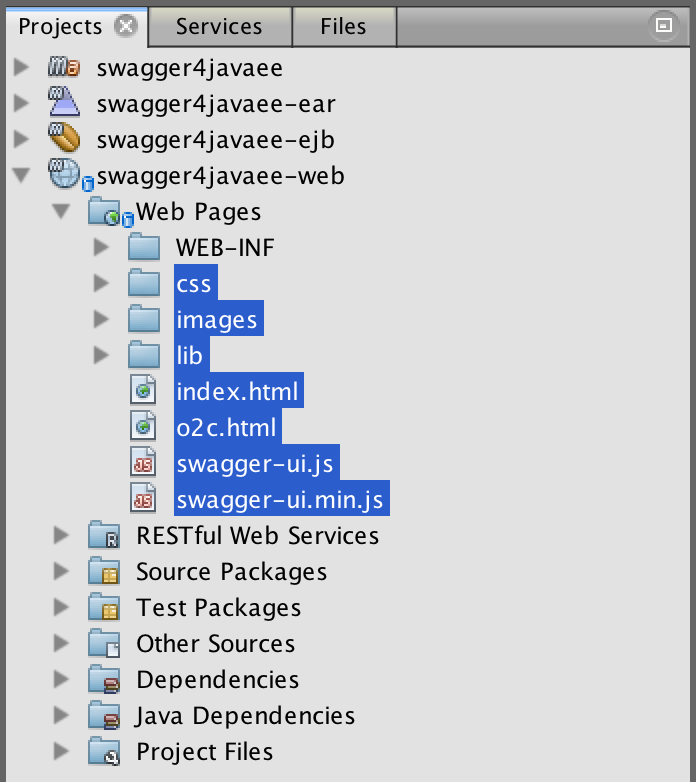
Then copy all the pre-built files in dist folder and paste to the webapp folder (i.e., swagger4javaee/swagger4javaee-web/src/main/webapp) in our web project.
Please note that we need to modify the url for api-docs in index.html, the value will be http://localhost:8080/swagger4javaee-web/rest/api-docs in this example.
Finally, let’s check the api-docs on http://localhost:8080/swagger4javaee-web/ and consume the hello REST service you’ll get the results as shown in the following figure.

Download Source Code
git clone https://github.com/jmchung/swagger4javaee.git
References
- How can I configure a Swagger in Glassfish 4 without a web.xml?, by lucasweb.
- HTML5CorsFilter example, by ObjetDirect.