Integrating Apache Shiro with CAS Authentication via LDAP
In this post I want to share how to setup SSO with CAS and LDAP authentication, and then demonstrate how to integrate Apache Shiro with CAS in the web application.
An Example of An Individual LDAP Entry
The following entry which represented in LDIF would be used to login the CAS. In this case, the username will be the full email address (case-insensitive) and the password is the value of userPassword attribute.
dn: cn=John Doe,dc=example,dc=com
objectClass: top
objectClass: person
objectClass: organizationalPerson
objectClass: inetOrgPerson
cn: John Doe
sn: Doe
mail: john@example.com
userPassword:: e21kNX1HaDNKSEpCekpjYVNjZDN3eVVTOGNnPT0=
Maven Overlay Installation
Here we use Maven WAR overlay project to arrange customizations such as authentication handlers and UI design. Thanks Unicon Labs for providing a great starting simple-cas4-overlay-template. Next, we setup the local environment with the following instructions to meet the minimum requirements, including JDK 1.7+, Apache Maven 3+ and Servlet container supporting Servlet 3+ spec (e.g. Apache Tomcat 7+).
sudo add-apt-repository ppa:webupd8team/java
sudo apt-get update
sudo apt-get install oracle-java7-installer
sudo apt-get install tomcat7
sudo apt-get install maven
sudo apt-get install git
Next, we clone the repository via:
git clone https://github.com/UniconLabs/simple-cas4-overlay-template.git
Note that we need to configure files in etc such as log4j.xml and cas.properties to satisfy local CAS installation needs, and then copy the files to the default external file system location /etc/cas. Finally, we run the chown command to change the owner and owning group of files with appropriate privilege.
sudo chown tomcat7:adm -R /etc/cas
Executing mvn clean package and then deploy the target/cas.war to a servlet container.
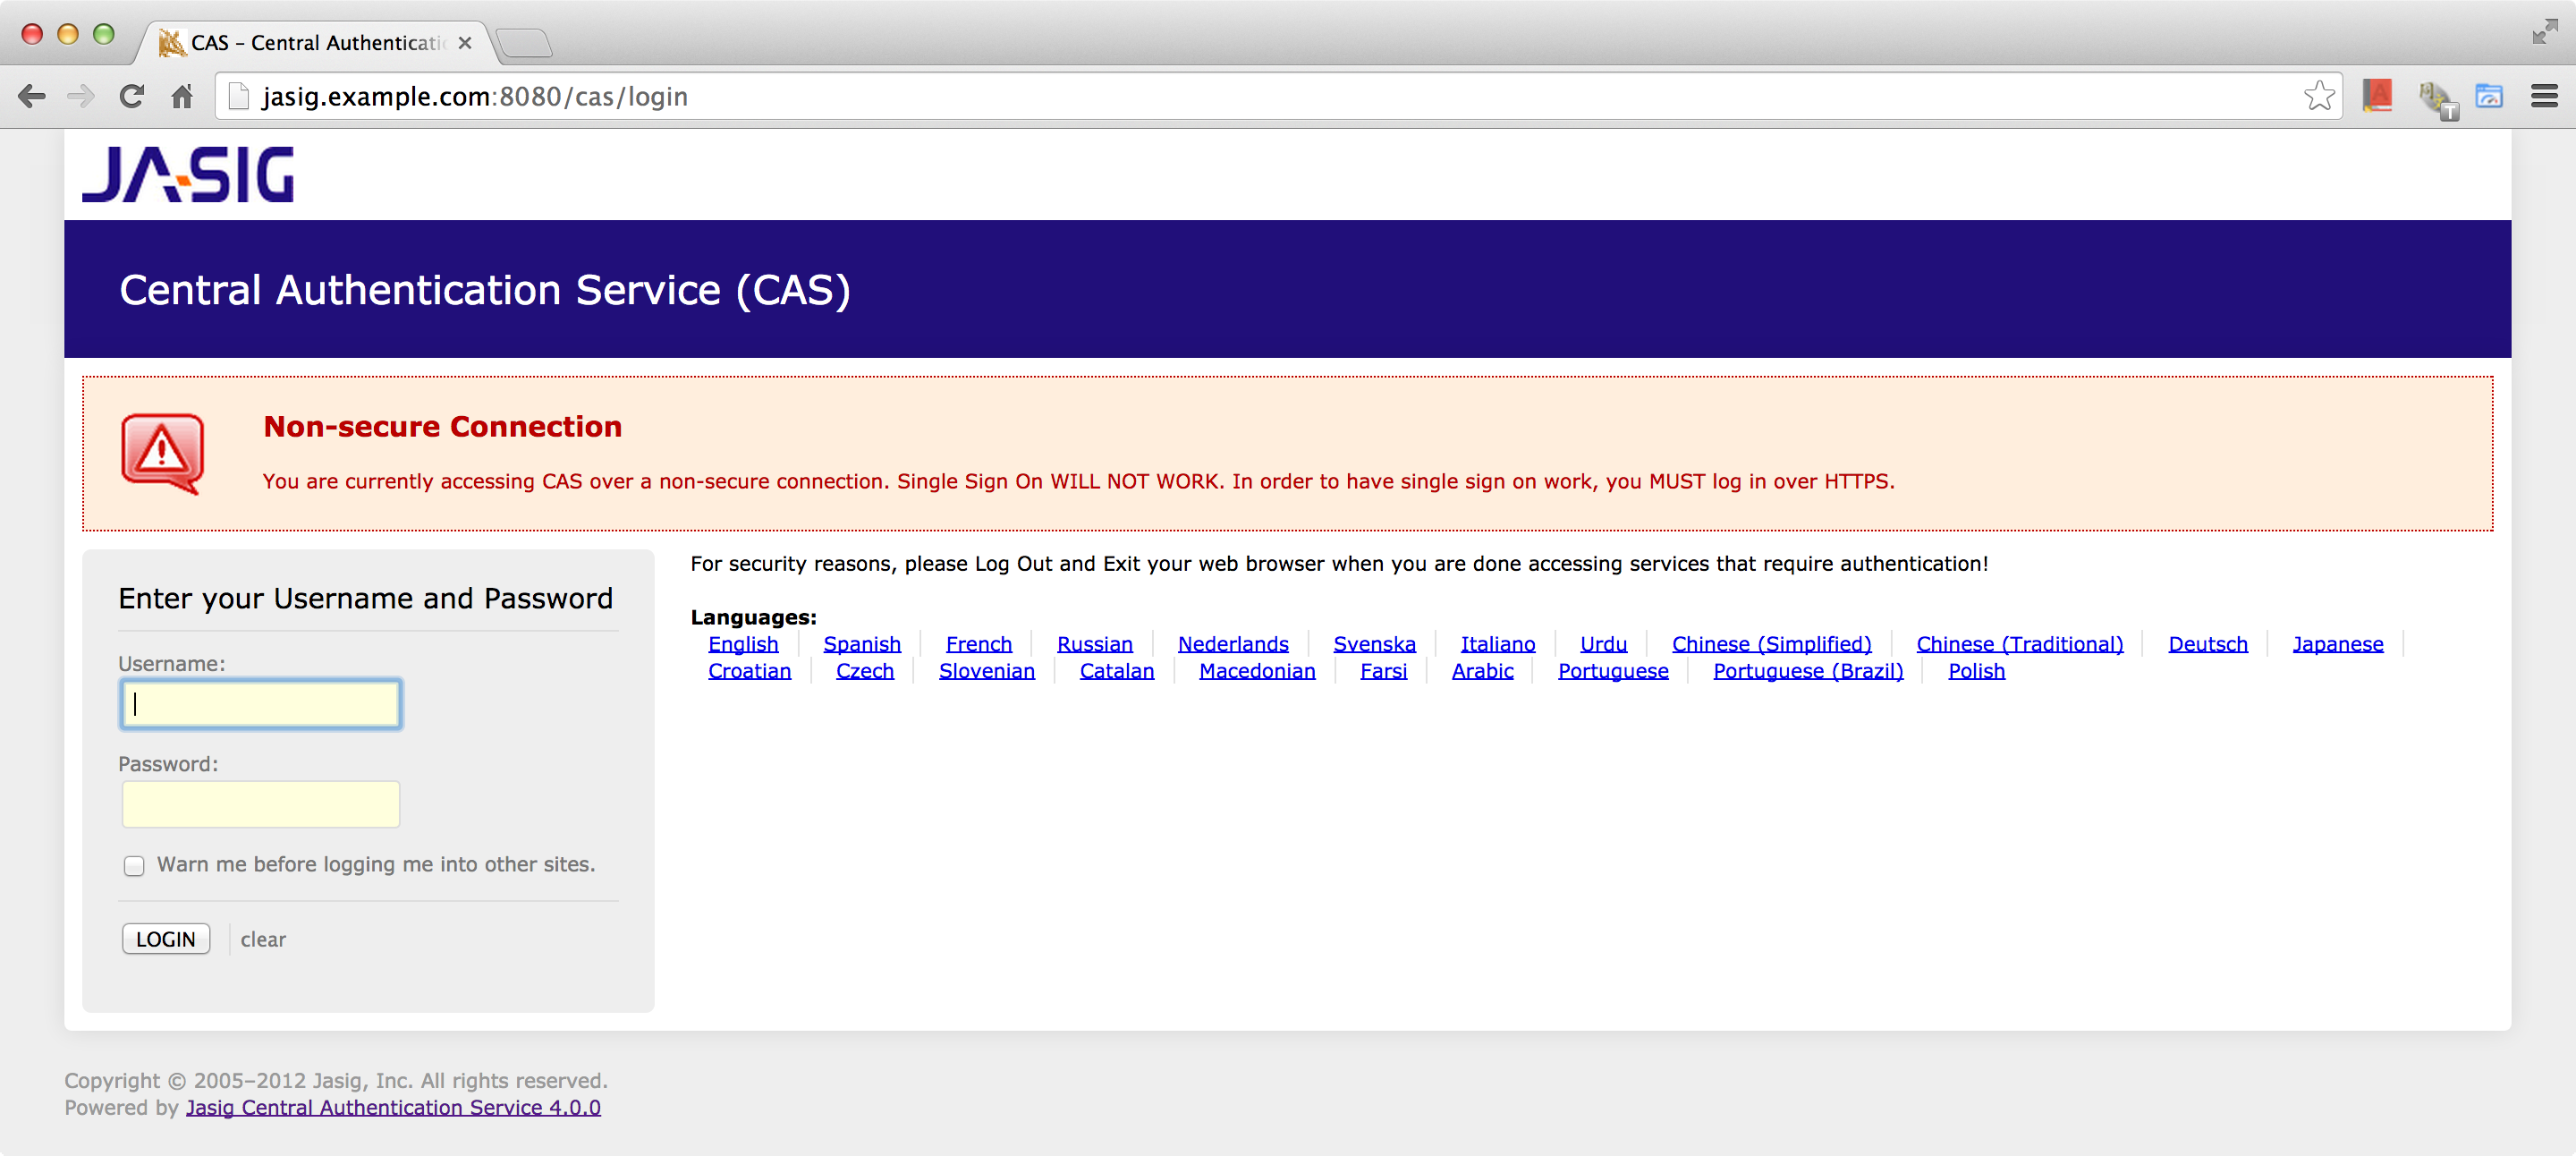
You will have Non-secure Connection message indicates you MUST log in over HTTPS. We need to prepare the certificate keystore and edit the Tomcat configuration file to support SSL.
keytool -genkey -alias tomcat -keypass changeit -keyalg RSA
keytool -export -alias tomcat -keypass changeit -file server.crt
sudo keytool -import -file server.crt -keypass changeit -keystore $JAVA_HOME/jre/lib/security/cacerts
We remove the comment tags from around the original example SSL connector and add the keystorePass and keystoreFile configurations in /var/lib/tomcat7/conf/server.xml.
<!-- Define a SSL HTTP/1.1 Connector on port 8443
This connector uses the JSSE configuration, when using APR, the
connector should be using the OpenSSL style configuration
described in the APR documentation -->
<Connector port="8443" protocol="HTTP/1.1" SSLEnabled="true"
maxThreads="150" scheme="https" secure="true"
keystorePass="changeit" keystoreFile="/home/ubuntu/.keystore"
clientAuth="false" sslProtocol="TLS" />
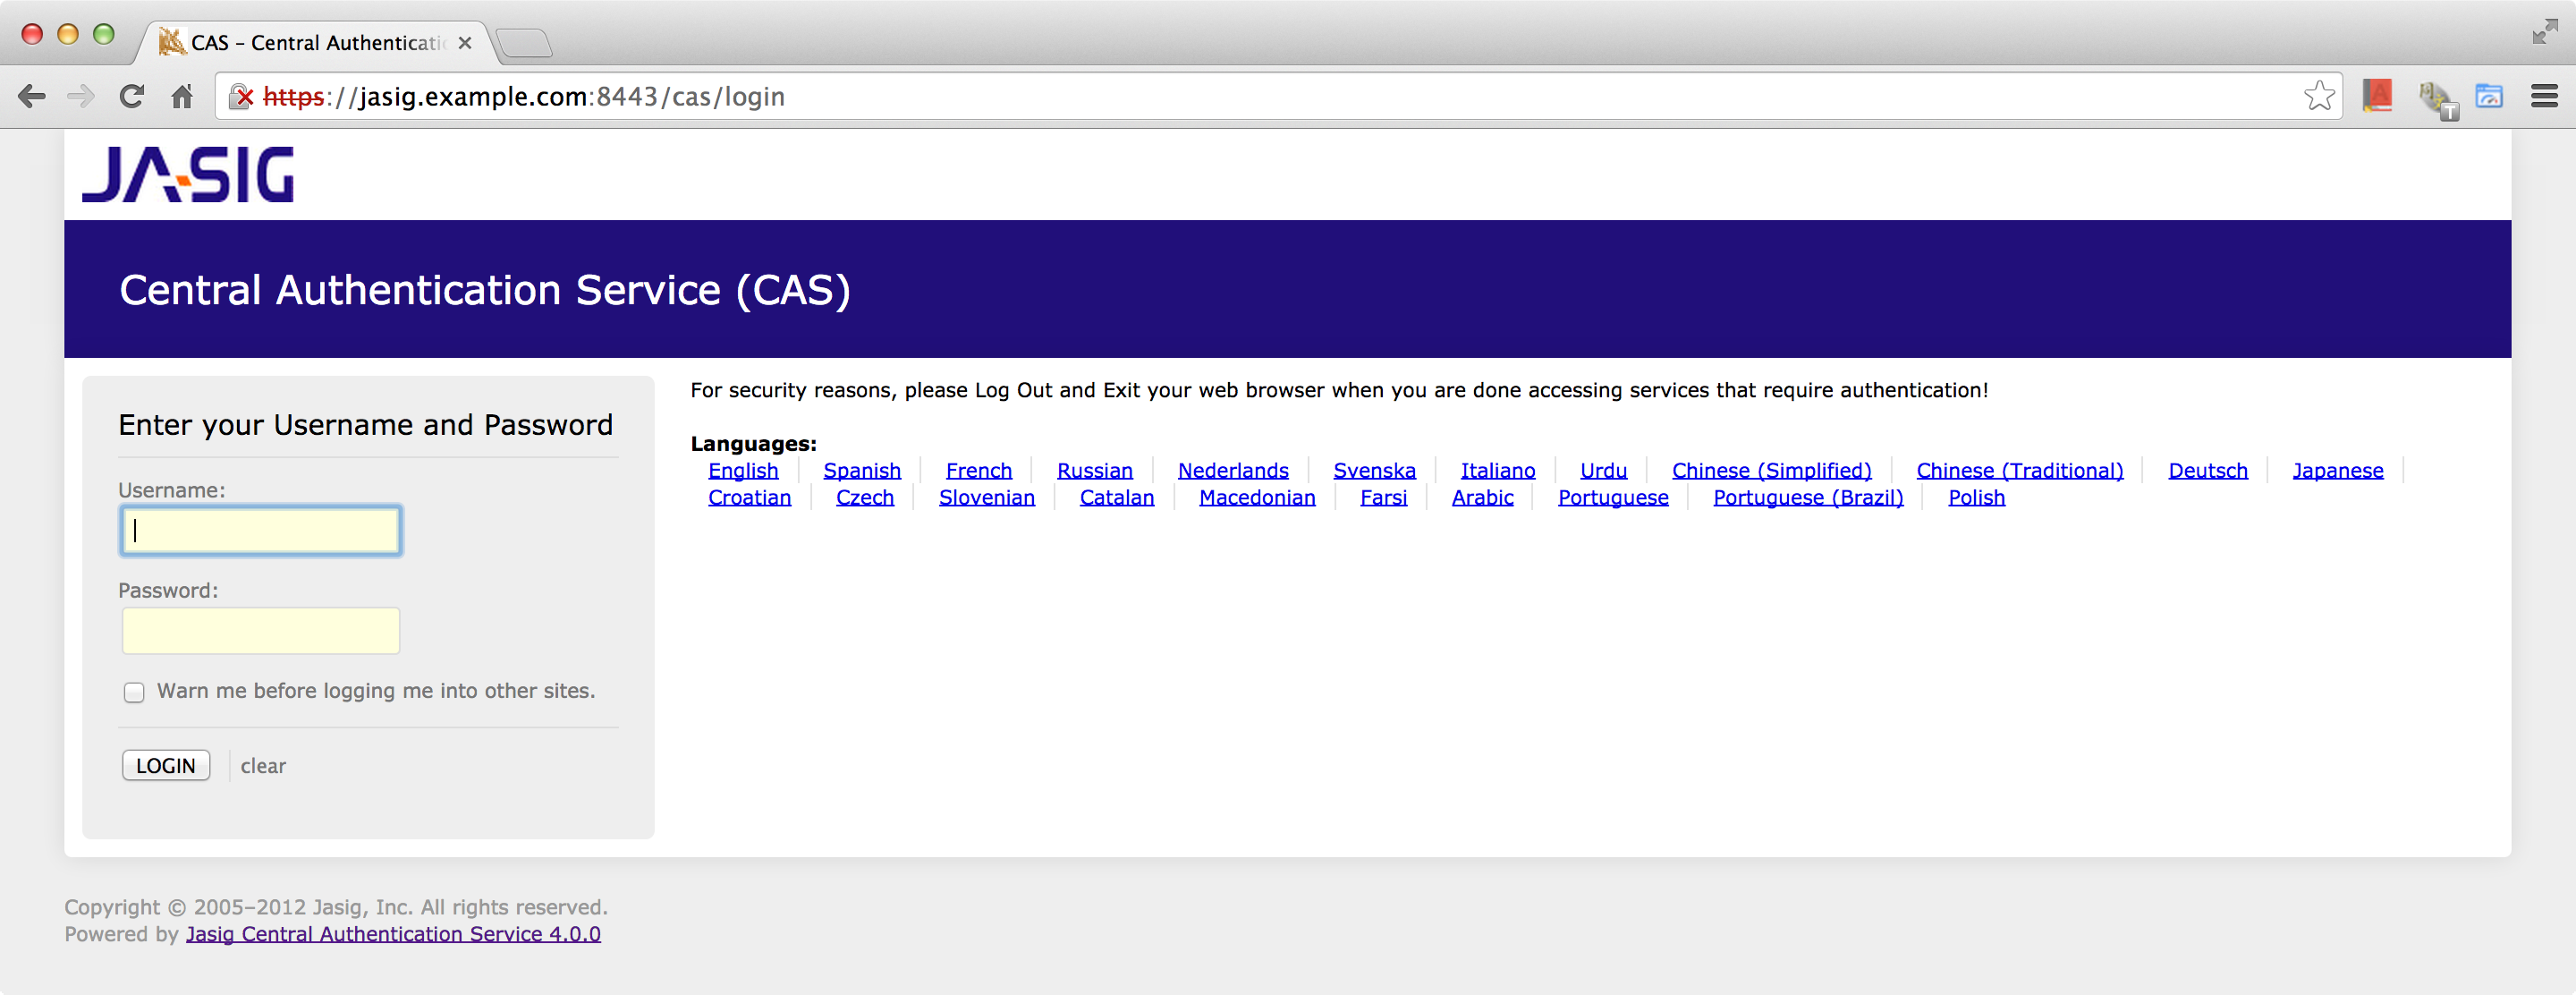
Remember to restart tomcat using sudo service tomcat7 restart and visit CAS over HTTPS, we can except that:
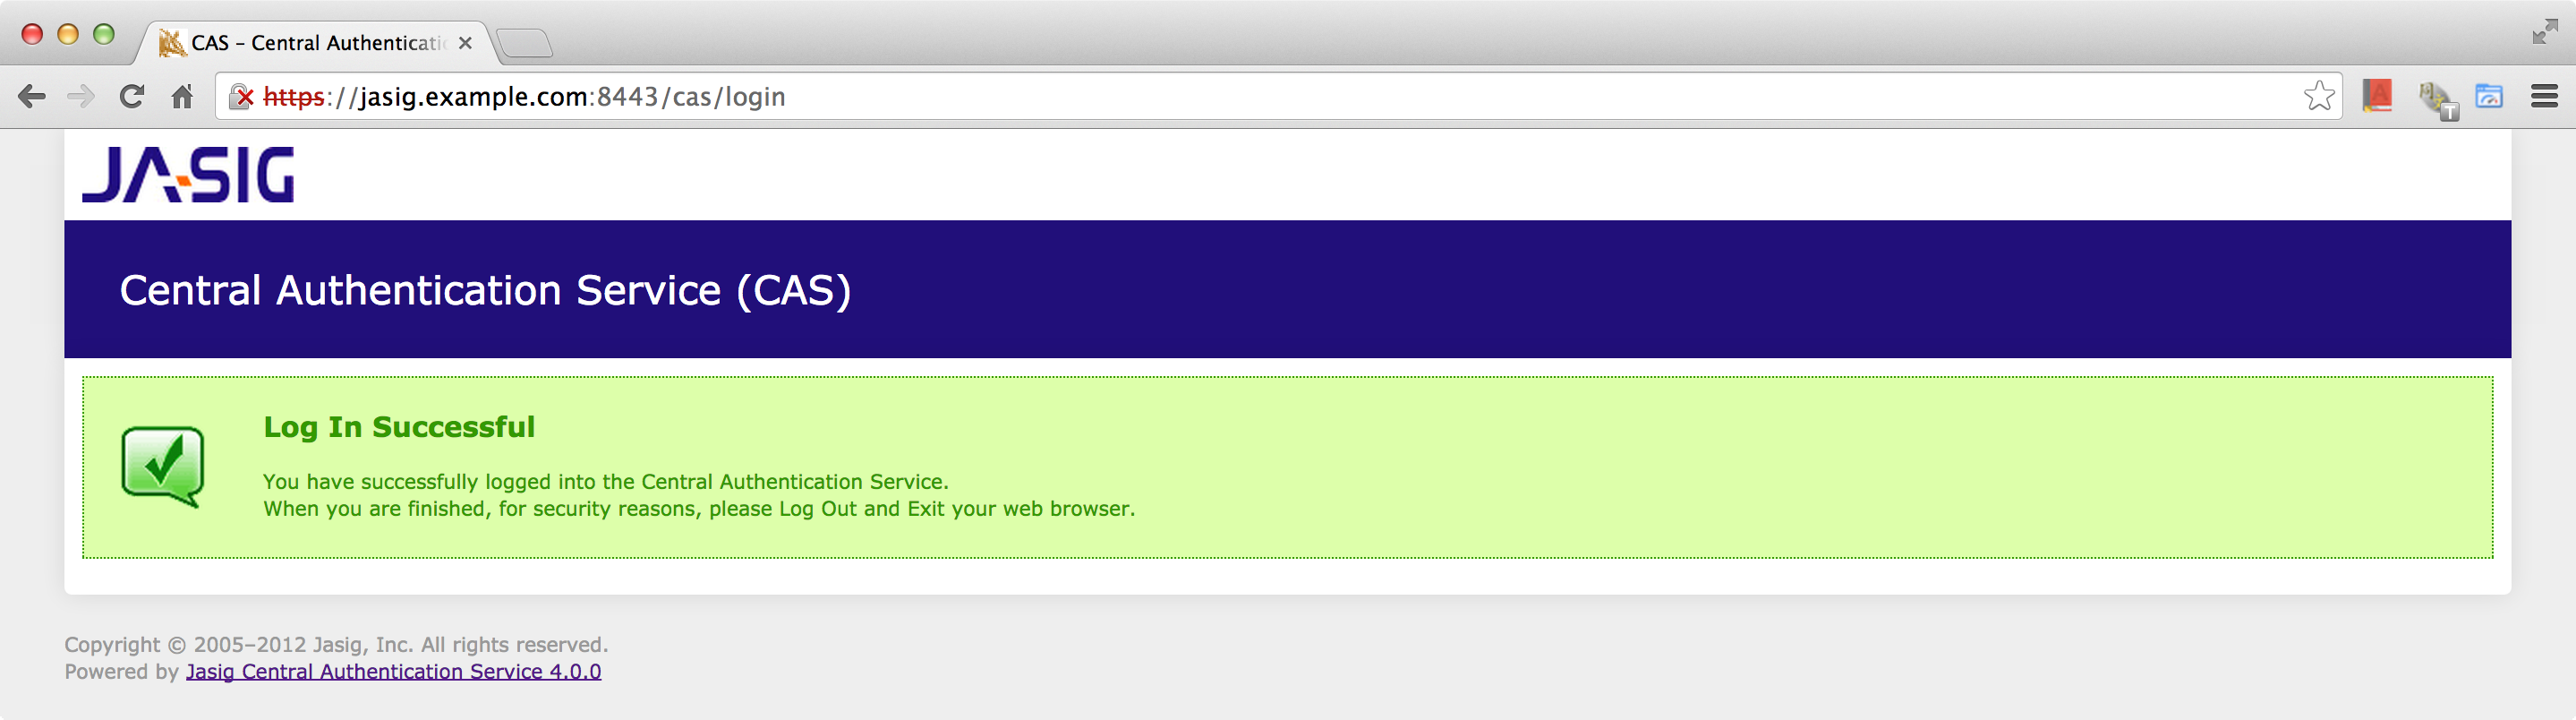
Now we can login the CAS with the default username casuser and password Mellon which defined in deployerConfigContext.xml.
LDAP Supporting Anonymous Search
In order to enable the LDAP integration in CAS we include the following dependency in pom.xml,
<dependency>
<groupId>org.jasig.cas</groupId>
<artifactId>cas-server-support-ldap</artifactId>
<version>${cas.version}</version>
</dependency>
Let LDAP authentication performed with an anonymous search with the following configuration in /home/ubuntu/cas-server-4.0.0/cas-server-webapp/src/main/webapp/WEB-INF/deployerConfigContext.xml.
...
<bean id="authenticationManager" class="org.jasig.cas.authentication.PolicyBasedAuthenticationManager">
<constructor-arg>
<map>
<entry key-ref="ldapAuthenticationHandler" value="#{null}"/>
<entry key-ref="proxyAuthenticationHandler" value-ref="proxyPrincipalResolver" />
</map>
</constructor-arg>
<property name="authenticationPolicy">
<bean class="org.jasig.cas.authentication.AnyAuthenticationPolicy" />
</property>
</bean>
...
<bean id="ldapAuthenticationHandler"
class="org.jasig.cas.authentication.LdapAuthenticationHandler"
p:principalIdAttribute="mail"
c:authenticator-ref="authenticator">
<property name="principalAttributeMap">
<map>
<entry key="member" value="member" />
<entry key="mail" value="mail" />
<entry key="displayName" value="displayName" />
</map>
</property>
</bean>
<bean id="authenticator" class="org.ldaptive.auth.Authenticator"
c:resolver-ref="dnResolver"
c:handler-ref="authHandler" />
<bean id="dnResolver" class="org.ldaptive.auth.PooledSearchDnResolver"
p:baseDn="${ldap.baseDn}"
p:allowMultipleDns="false"
p:connectionFactory-ref="searchPooledLdapConnectionFactory"
p:userFilter="${ldap.searchFilter}" />
<bean id="searchPooledLdapConnectionFactory"
class="org.ldaptive.pool.PooledConnectionFactory"
p:connectionPool-ref="searchConnectionPool" />
<bean id="searchConnectionPool" parent="abstractConnectionPool" />
<bean id="abstractConnectionPool" abstract="true"
class="org.ldaptive.pool.BlockingConnectionPool"
init-method="initialize"
p:poolConfig-ref="ldapPoolConfig"
p:blockWaitTime="${ldap.pool.blockWaitTime}"
p:validator-ref="searchValidator"
p:pruneStrategy-ref="pruneStrategy"
p:connectionFactory-ref="connectionFactory" />
<bean id="ldapPoolConfig" class="org.ldaptive.pool.PoolConfig"
p:minPoolSize="${ldap.pool.minSize}"
p:maxPoolSize="${ldap.pool.maxSize}"
p:validateOnCheckOut="${ldap.pool.validateOnCheckout}"
p:validatePeriodically="${ldap.pool.validatePeriodically}"
p:validatePeriod="${ldap.pool.validatePeriod}" />
<bean id="connectionFactory" class="org.ldaptive.DefaultConnectionFactory"
p:connectionConfig-ref="connectionConfig" />
<bean id="connectionConfig" class="org.ldaptive.ConnectionConfig"
p:ldapUrl="${ldap.url}"
p:connectTimeout="${ldap.connectTimeout}"
p:useStartTLS="${ldap.useStartTLS}" />
<bean id="pruneStrategy" class="org.ldaptive.pool.IdlePruneStrategy"
p:prunePeriod="${ldap.pool.prunePeriod}"
p:idleTime="${ldap.pool.idleTime}" />
<bean id="searchValidator" class="org.ldaptive.pool.SearchValidator" />
<bean id="authHandler" class="org.ldaptive.auth.PooledBindAuthenticationHandler"
p:connectionFactory-ref="bindPooledLdapConnectionFactory" />
<bean id="bindPooledLdapConnectionFactory"
class="org.ldaptive.pool.PooledConnectionFactory"
p:connectionPool-ref="bindConnectionPool" />
<bean id="bindConnectionPool" parent="abstractConnectionPool" />
...
LDAP Properties Starter
Then we add the corresponding LDAP properties to the WEB-INF/cas.properties configuration file.
...
##
# CAS Logout Behavior
# WEB-INF/cas-servlet.xml
#
# Specify whether CAS should redirect to the specified service parameter on /logout requests
cas.logout.followServiceRedirects=true
...
#========================================
# General properties
#========================================
ldap.url=ldap://ldapsrv:389
# LDAP connection timeout in milliseconds
ldap.connectTimeout=3000
# Whether to use StartTLS (probably needed if not SSL connection)
ldap.useStartTLS=false
#========================================
# LDAP connection pool configuration
#========================================
ldap.pool.minSize=3
ldap.pool.maxSize=10
ldap.pool.validateOnCheckout=false
ldap.pool.validatePeriodically=true
# Amount of time in milliseconds to block on pool exhausted condition
# before giving up.
ldap.pool.blockWaitTime=3000
# Frequency of connection validation in seconds
# Only applies if validatePeriodically=true
ldap.pool.validatePeriod=300
# Attempt to prune connections every N seconds
ldap.pool.prunePeriod=300
# Maximum amount of time an idle connection is allowed to be in
# pool before it is liable to be removed/destroyed
ldap.pool.idleTime=600
#========================================
# Authentication
#========================================
# Base DN of users to be authenticated
ldap.baseDn=dc=example,dc=com
# Search filter used for configurations that require searching for DNs
#ldap.authn.searchFilter=(&(uid={user})(accountState=active))
ldap.searchFilter=(mail={user})
...
Once an overlay project has been created, remember to deploy the target/cas.war again and restart the Tomcat.
java-servlet3-shiro-cas-client-demo
Finally, we use an example to illustrate the whole process. I created a new Maven project from servlet3-maven-archetype named java-servlet3-shiro-cas-client-demo in github, the file structure as following:
├── java-servlet3-shiro-cas-client-demo.iml
├── pom.xml
└── src
├── main
│ ├── java
│ │ └── org
│ │ └── example
│ │ ├── HelloServlet.java
│ │ ├── LogoutServlet.java
│ │ └── ProtectedServlet.java
│ ├── resources
│ │ └── shiro.ini
│ └── webapp
│ ├── WEB-INF
│ │ ├── logback.xml
│ │ └── web.xml
│ └── index.jsp
└── test
├── java
└── resources
First add the Apache Shiro dependencies in pom.xml to enable the CAS support. Then we create a shire.ini indicates the Shiro use CasRealm in authentication. The web.xml set the filter to handle login/logout requests sent directly by the CAS server. The protected resources ProtectedServlet.java can be reached after authentication, and then you can check the subject’s principal and roles.
Credits
- How To Install and Configure a Basic LDAP Server on an Ubuntu 12.04 VPS, by Justin Ellingwood.
- How To Install Apache Tomcat 7 on Ubuntu 14.04 via Apt-Get, by Mitchell Anicas.
- Installing Oracle Java and Tomcat on Ubuntu Server 12, by Joe Freeman.
- Jasig CAS SSO 安裝篇, by Louisz.
- LDAP Authentication
- servlet3-maven-archetype, by Maciej Walkowiak.
- java-shiro-cas-client-demo, by LELEU Jérôme.